How To Lay Pavers
What You Will Need:
- 2 Runner Boards
- 1 Screed Board
- 1 Rubber Mallet
- 1 Broom
- 1 Spirit Level
- 4 Edge Restraints (Or one for each edge that is not against a wall)
- 1 Mechanical Compactor
- 1 Shovel
- String
- Pegs
- Pavers
- Compactible sand
- Waterproof Cover (Optional)
Step 1: Mark Out The Area
Place your pegs at the corners of the area that you intend to pave. Next, run a line of string along the edge of the area by tying the string between each peg. Place the string line at the level that your pavers will be when completed, using a spirit level to keep it straight. (This will help to ensure that your pavers are laid straight and flush).
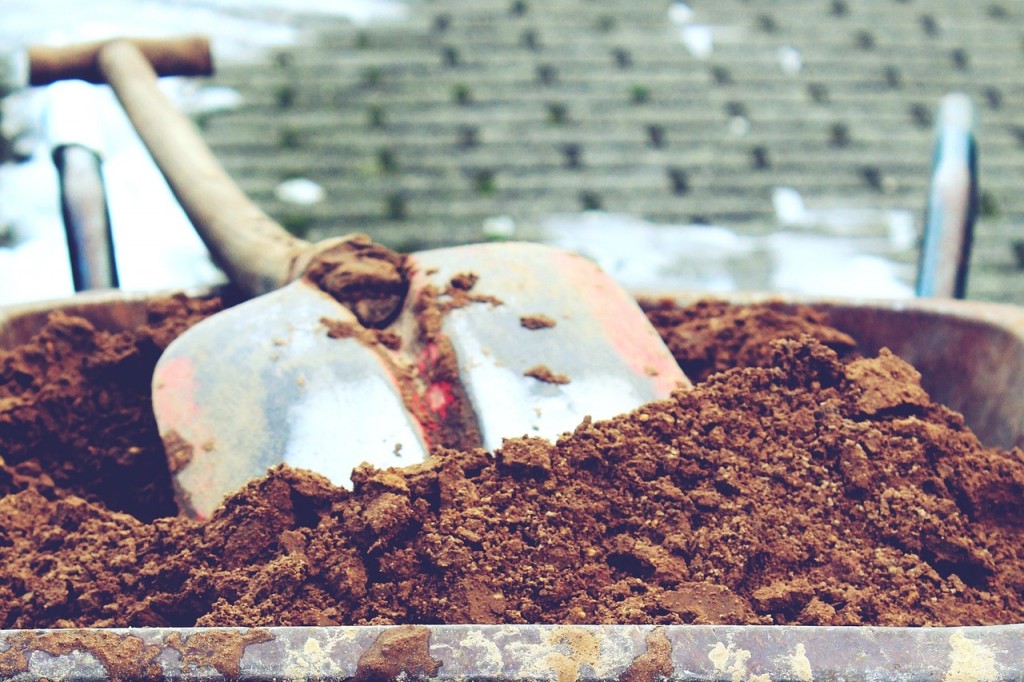
Then, adjust the string to slightly slope away from the house or building to allow for water drainage. (Note: If you are not starting with a naturally flat surface, you will need to use a shovel to clear grass and soil from the area to allow room for the sand base).
Step 2: Prepare The Ground
Before you begin, use a rake to ensure that you are working with a flat and even surface (for soft or uneven surfaces you may need to lay an initial layer of road base). Now it’s time to prepare and lay your base. First, lay the two runner boards on either side of the area to be paved using the spirit level to ensure that they are level. Then evenly distribute the compactible sand across the whole area until it is at least 50 mm thick. (Note: the prepared ground must be parallel to the string line or finished paver level).
Depending on the intended use of the area, either compact the sand by hand (for foot traffic) or with a mechanical compactor (for vehicle traffic areas). Once the sand has been compacted, place the screed board across the two runner boards (the runner boards and the screed board should form an “H”).
Run the screed board back and forwards along the two runner boards to flatten out the sand, pouring in extra sand where needed. (For large areas you will need one person either side of the screed board). This should fill any holes and flatten any mounds for an even finish.
Do not walk on the sand once it has been screeded. If you are not laying the pavers immediately, use a waterproof cover to protect your sand base.
Step 3: Lay The Pavers
Once you have an even base of sand, you can begin to lay the pavers in your desired pattern (Note: Herringbone is recommended for driveways). If you are working with a fixed edge, begin laying pavers there, or if the area is sloped, start laying pavers at the bottom of the slope.
Now you may begin laying the pavers one by one using your rubber mallet to tap each paver lightly into place as you lay them. Use a spirit level to level the pavers and ensure that they are in line with the string line. Make sure that there is a 2 – 4 mm gap between each paver you lay to be filled later.
When moving around the area, only walk on the laid pavers and not on the screeded sand base.
Step 4: Add Edge Restraints
Edge restraints are required at every edge that is not against a wall and are essential to ensure that the pavers will not spread beneath heavy loads. Once you have finished laying your pavers, place your edge restraints 10 mm below the finished paver level to allow for the compaction of the sand base.
Step 5: Compact The Pavers
Before compaction, ensure that you are happy with the pattern and colour distribution of the pavers. Then, sweep sand into the gap that you left between each paver. Next, spread a thin layer of sand over the surface of the pavers to minimise any surface damage that may be caused by the compactor.
Use a mechanical compactor (or whacker packer) to compact the pavers once they have been laid. (Top tip: attach an old piece of carpet or thin plywood sheet to the bottom of the compactor to reduce damage to the pavers during compaction).
Once you have compacted the pavers you may need to sweep more sand into the gaps to achieve lock up.
– Ivy Jackson, Content Specialist


