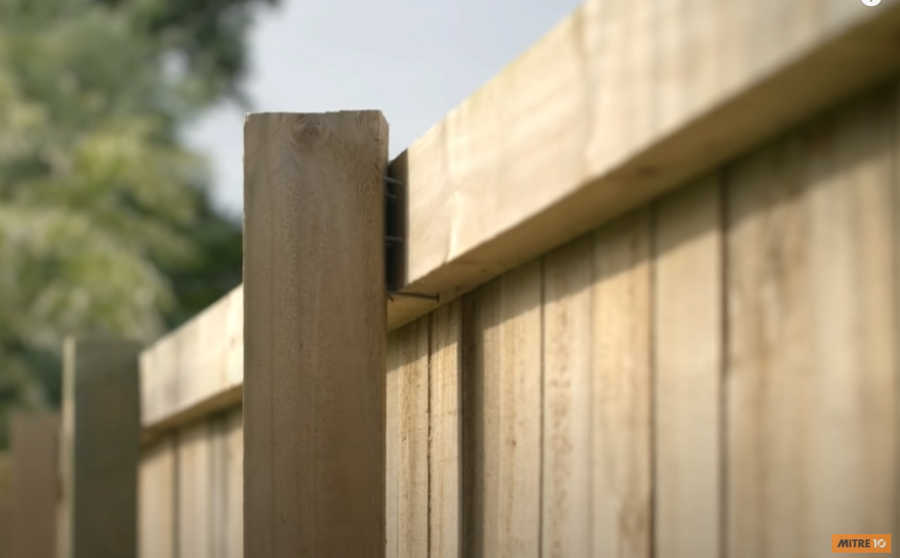
How To Build A Timber Paling Fence

Check before you dig with the relevant authorities to make sure that you’re not digging where there might be pipes wires or underground services.
Also check with council around rules and regulations before you begin
Always remember the number one rule (after safety first of course)
Measure twice cut once!
What You Will Need
- Pegs and Braces
- Railings
- Posts
- Pailings
- Circular saw
- Tape measure
- String line
- Chisels
- Hammer
- Safety Gear
- Set square
- Pencil
- level
- Quick set cement
- Nails
- Adhesive
- Spade
- Hand saw
- Nail gun
- Compressor
- Ladder
- Saw Horses
Fence Boundary and Post Measurements
Lay the string line where you will be building your fence ensuring that you take into account boundary lines for your property.
Measure the distance of the fence line so that you can calculate the distance between posts so that you install them evenly.
Post Installation
Dig the holes for each post ensuring that they are deep enough to keep the post stable. After you have dug each hole measure from the centre of this hole to determine where the next post hole will be along the string line.
Put posts in each hole ensuring that they are level and straight. (you can also use a peg and brace system to keep your posts level while your concrete dries)
Mix your concrete and fill each hole as required. Leave to set as per concrete instructions.
Installing Fence Rails
Installing Railings
Evenly measure out the distance between each railing for placement on your post.and mark where each railing will go (The number of railings on each post will be determined by the height of your fence)
You can use railing screws to attach directly to the post but we do recommend using notches.
Notches
For your railing notches, measure out the width of the railing. Using a square mark this width where the railings will sit(on the side the palings will go)
Measure the depth of your rail and set your saw depth to this measurement. Cut out strips in between the notch markings and use a chisel to knock out these notch strips.
Once the notches have been cut out measure the distance from the middle of the posts to the middle of the final post each railing will sit in and cut to size (distance will vary from bottom to top so ensure you are measuring each distance individually)
Install the railings with your nailgun (or appropriate fence screws) ensuring that the railing comes to the centre of each notch either side.
If using a plinth
Measure and cut plinth
Measure from the centre of the post to the centre of the post the plinth will end on to determine the length of each plinth and cut to size.
Install Plinth
Place Plinth and check the level and use your nail gun to attach to each post.
Fence and Post height
Place paling ontop of the plinth against each post and mark this height, so that the fence post is not visible over the palings come down a couple of centimeters from the mark and draw a line with your square.
Establish a fall on the post so that water doesn’t sit on the top of the post (this is an angle on the top of your post)
Use these guidelines to cut off the tops of each post.
Installing Fence Palings
Determine how much distance you want in between each paling and use a spacer during installation if needed. Use your nail gun to secure each paling
For all your Timber Needs
Wellers Hill Hardware stocks a huge range of timber products for all of your building needs. From treated sleepers to skirting and handrails, we’ve got it all. In fact, we even have a drive through landscaping yard making it easier than ever to pick up your timber supplies.
No time to spend looking around the store for the products you need? No worries. Give us a call on 07 3848 1682 and we can have everything you need picked and ready to go upon your arrival.
For More Info
Check out this video from our friends at Mitre10 New Zealand for some more helpful tips (australian rules and regulations will be different)
Disclaimer: Follow at your own risk. This is simply a guide and will not be suitable for every situation.

