Step-by-Step Guide on How to Lay a Concrete Slab
When it comes to DIY projects, laying a concrete slab is a fundamental skill that can be used for a variety of purposes, including driveways, paths, and sheds. Wellers Hill Hardware & Landscape Supplies, part of the Mitre 10 Group, has all the materials and tools you need to get started. Let’s dive into the process with a step-by-step guide, referencing timestamps from Mitre 10s instructional video to help you follow along.
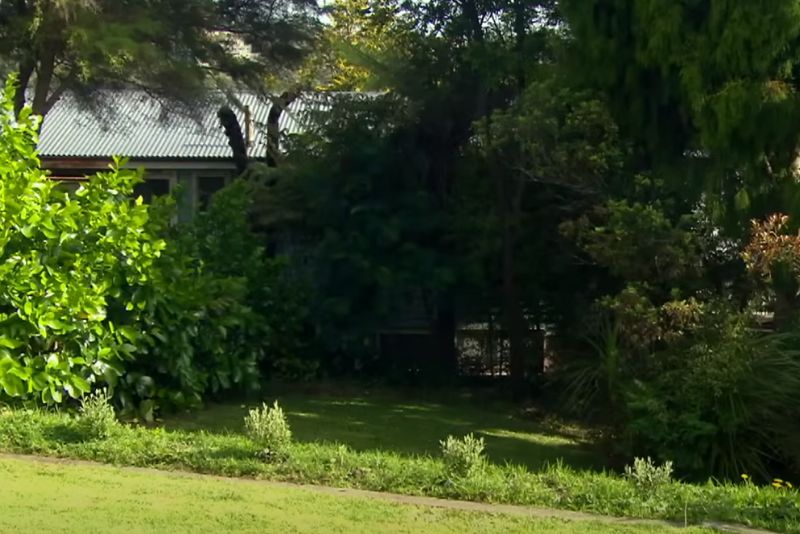
Step 1: Deciding the Location
[0:07 – 0:13] First, you have to decide where your shed is going to sit. Ensure you allow enough distance from hedges or fences. The shed we’re building today is 1.8 by 1.5 meters.
(Always check with your council in case building consent is required)
Step 2: Preparing the Timber
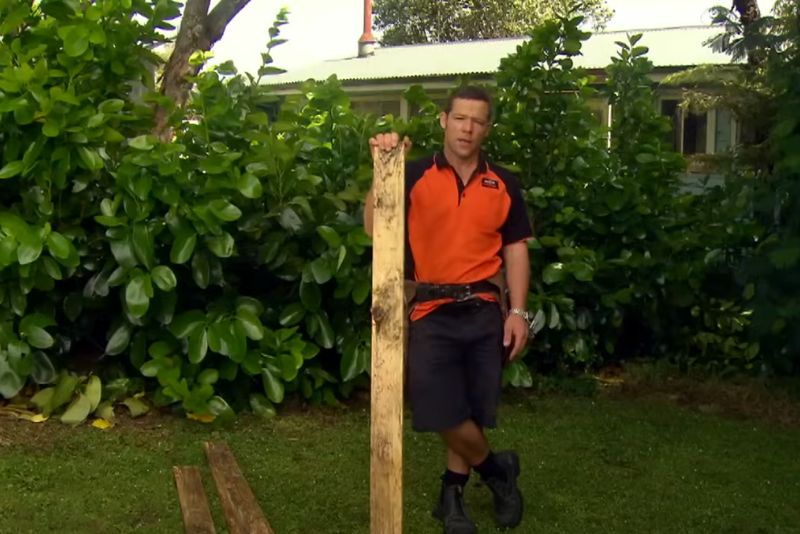
[0:13 – 0:28] This timber will be the boxing for our concrete pad. I’ve already pre-cut my timber to length. I’m using 100-by-25 rough sawn untreated timber.
Step 3: Nailing the Boxing
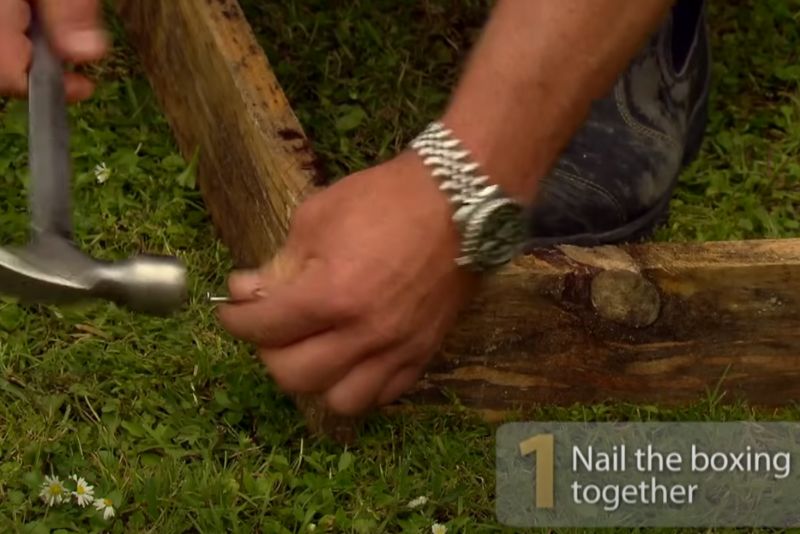
[0:33 – 0:39] Nail the boxing together using 75-millimeter nails. Leave the nails sticking out a bit to make it easier to remove the boxing later.
Step 4: Ensuring the Boxing is Square
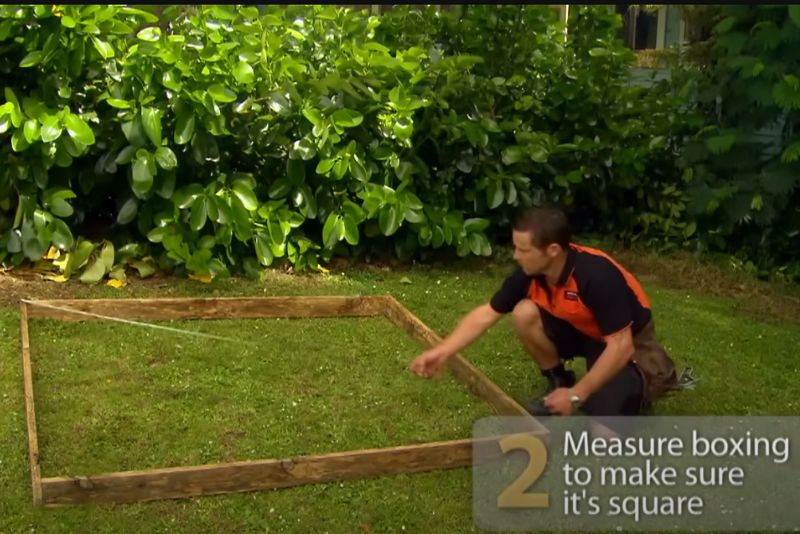
[0:48 – 0:59] Make sure the boxing is square by measuring the diagonals and ensuring both ways are exactly the same dimension. This ensures the foundation will be properly aligned.
Step 5: Levelling the Pad
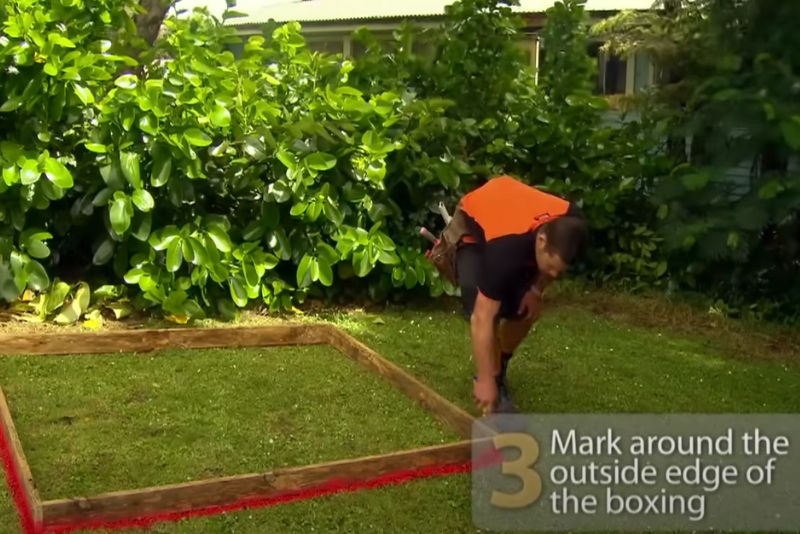
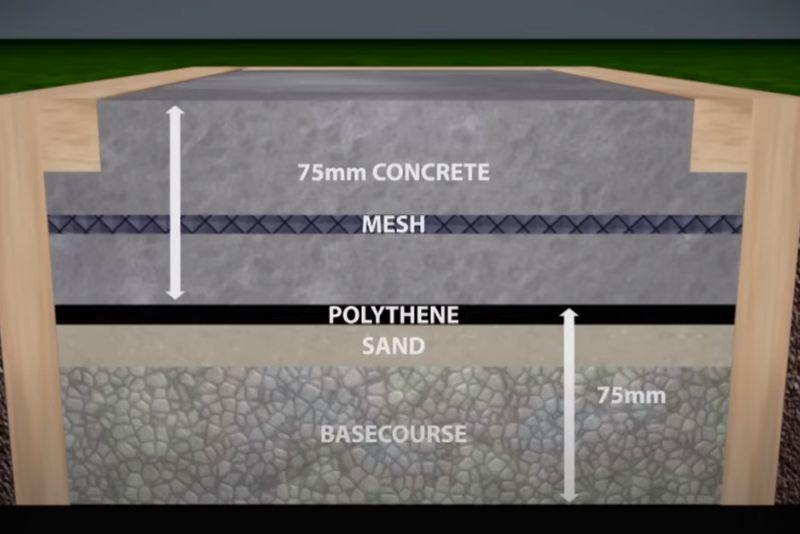
[1:06 – 1:39] Use landscapers paint spray to mark around the outside edge of your boxing. For our pad, we need 75 millimetres of compacted basecourse under 75 millimetres of concrete.
Step 6: Digging Out the Soil
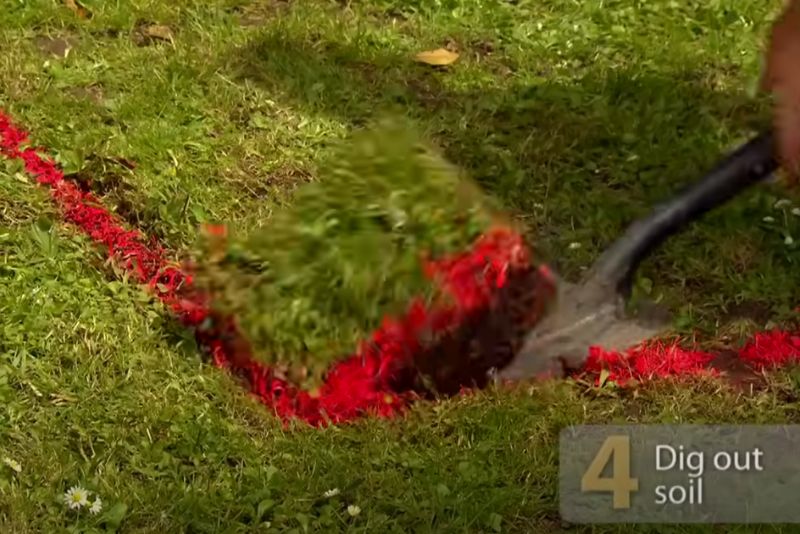
[1:39 – 1:46] Remove 150 millimeters of soil to allow for both the compacted basecourse and concrete. Check Mitre 10’s online guide for the correct pad depth for your project.
Step 7: Pegging the Boxing
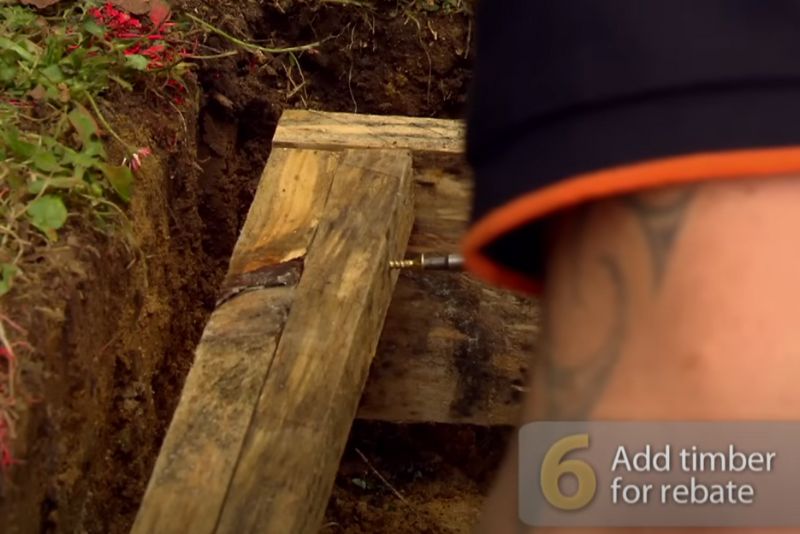
[1:46 – 1:57] Peg the boxing in place and ensure it is level so the shed sits flat. Fix the pegs to the boxing and remove any loose dirt. If your pad is for a shed, consider adding a rebate for the walls to slot onto.
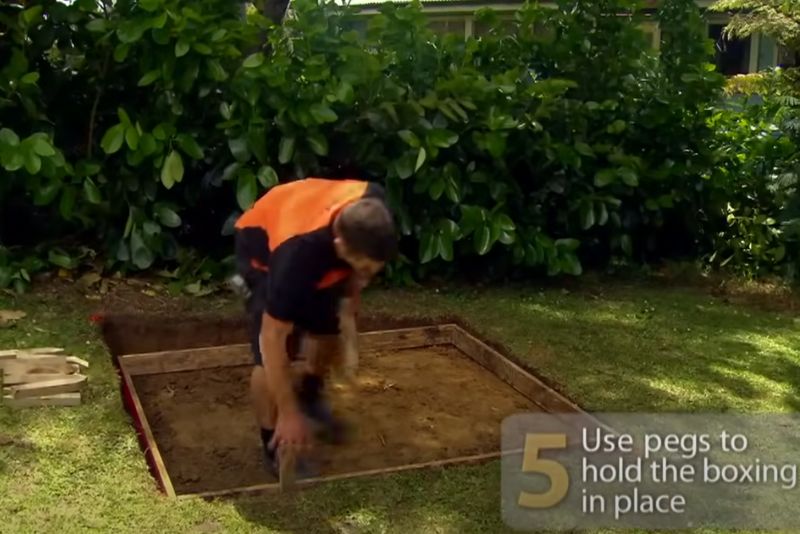
If your pad is for a shed, consider adding a rebate for the walls to slot onto.
Step 8: Using a Compactor
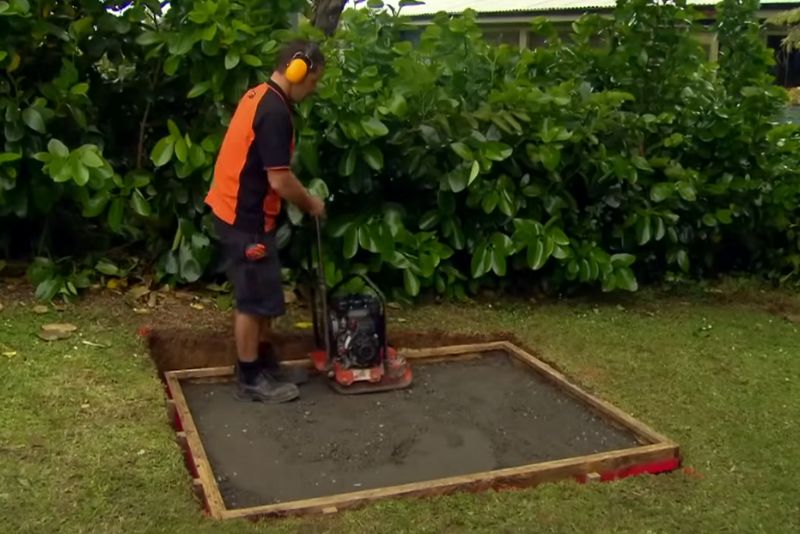
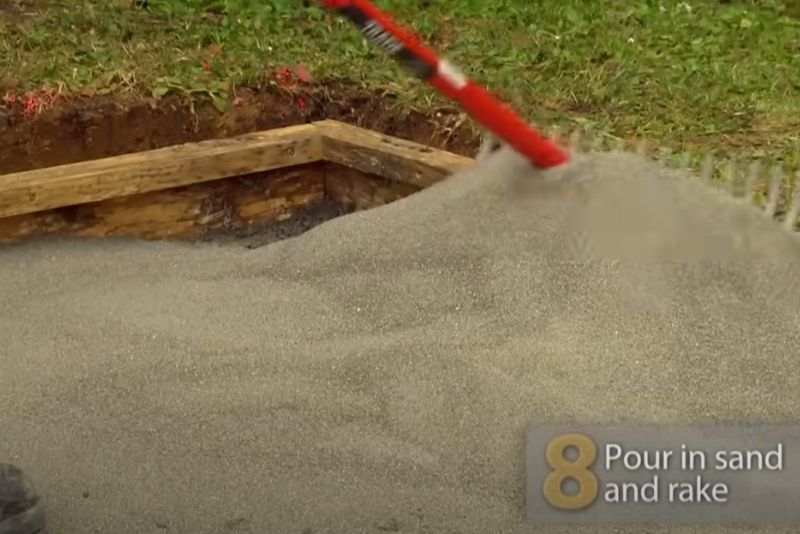
[2:21 – 2:41] Place the basecourse (see our crusher dust page here) and use a compactor to compact it. Then, add a layer of sand (see our bedding sand page here) and rake it to create a smooth surface. The sand will fill in the holes in the basecourse.
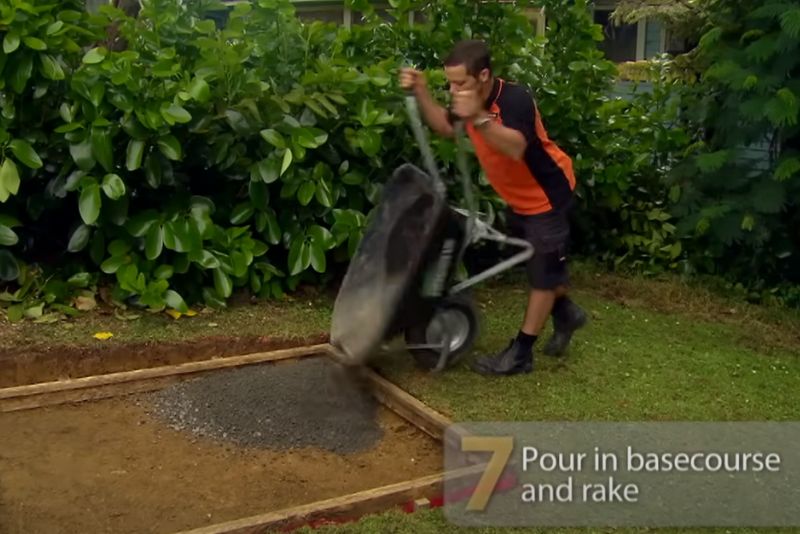
Compact The Basecourse with a compactor (view our equipment hire page here)
Pour in sand and rake
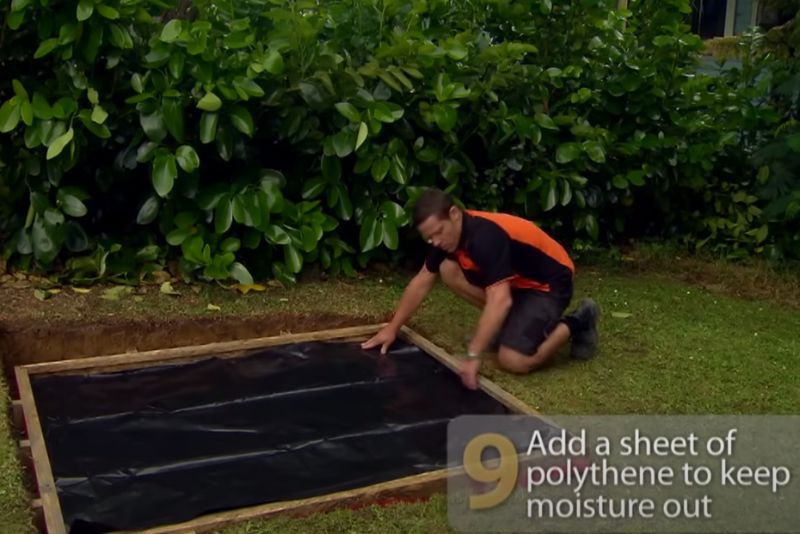
Step 9: Adding the Polythene
[2:47 – 3:09] Lay down the polythene neatly over the base to help keep the moisture out.
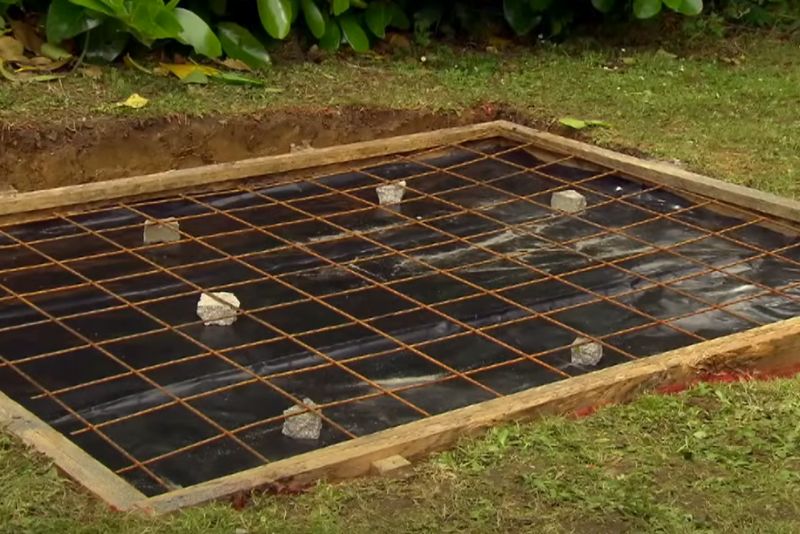
Although a pad this size doesn’t necessarily need mesh, adding it can provide extra strength. Use concrete blocks to hold the mesh off the polythene, ensuring it sits in the middle of the concrete slab.
Step 10: Mixing and Pouring the Concrete
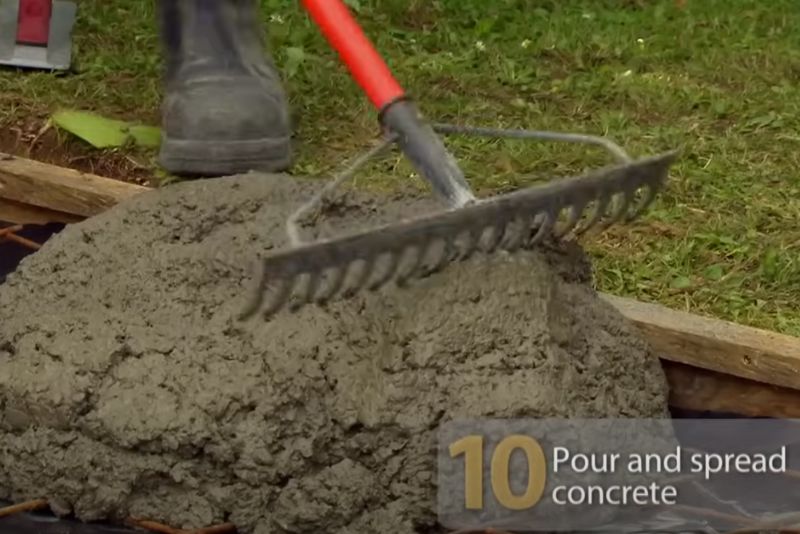
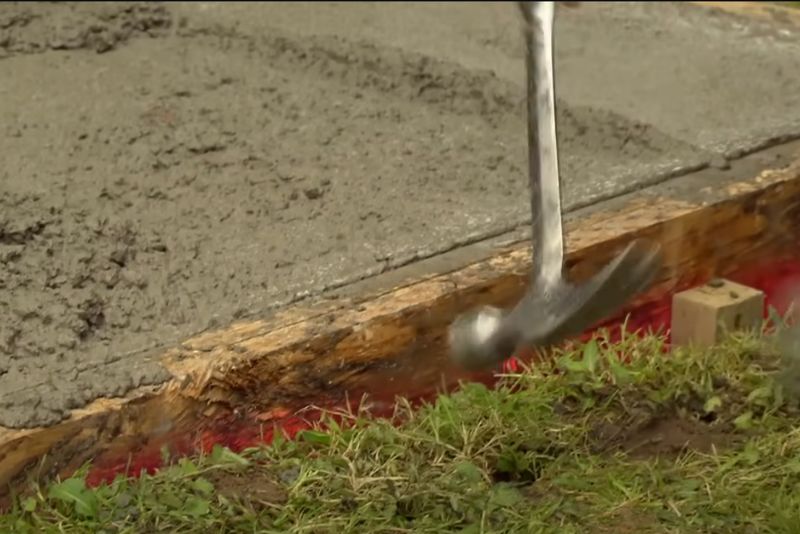
[3:13 – 3:19] Mix your concrete (view our cement mixer hire page here) according to the instructions and pour it into the boxing. Tap the boxing to settle the concrete and remove air bubbles.
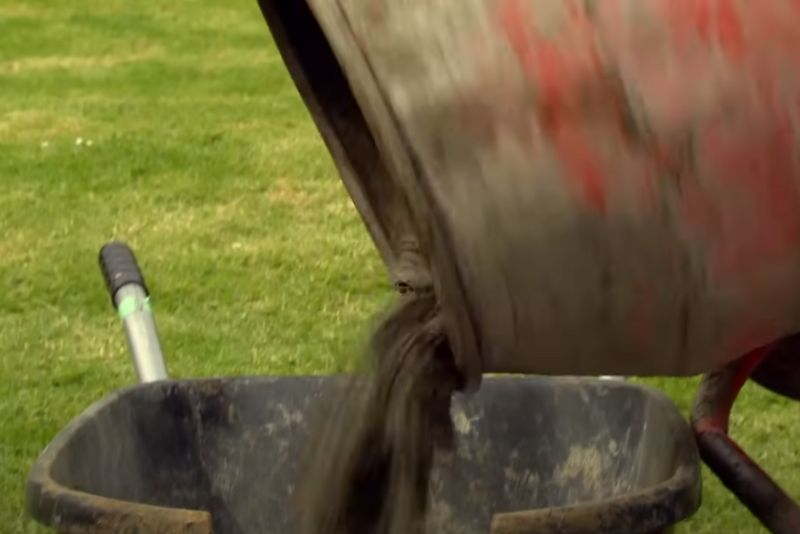
pour and spread the concrete
Tap the side to help get the air bubbles out
Step 11: Finishing the Concrete
[3:33 – 3:49] For the first stage of finishing, use a 4-by-1 to screed the concrete. Follow this with a magnesium trowel to prevent drawing water up and out of the concrete, and finish with a steel trowel for a smooth finish. Wait one to two hours and repeat this final step for an even smoother surface.
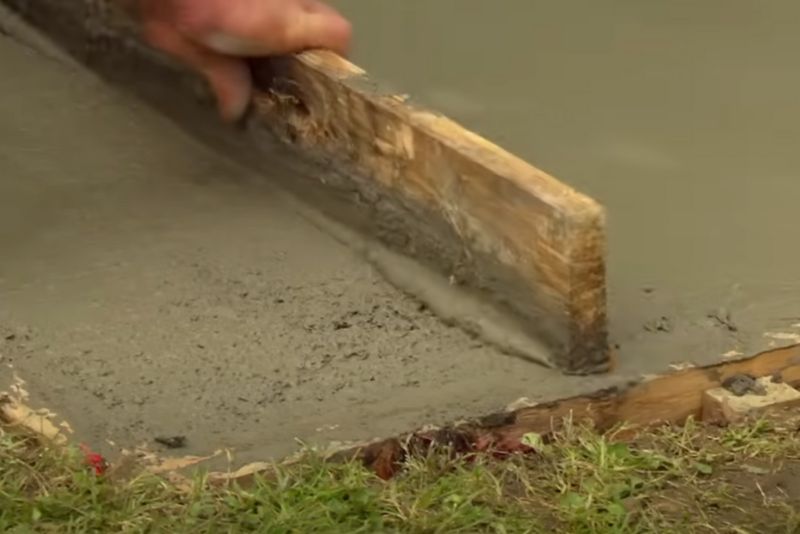
Magnesium Trowel
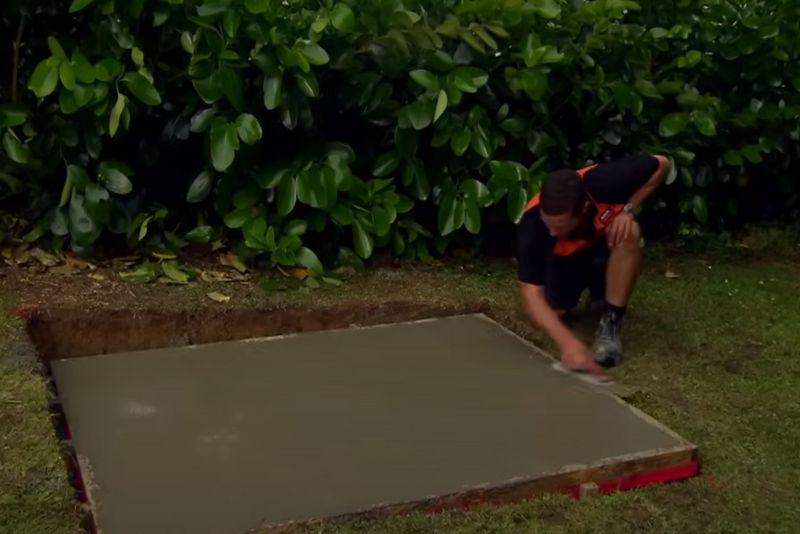
Steel Trowel to give a nice smooth finish repeat again with a steel trowel after 1-2 hours for an even smoother finish
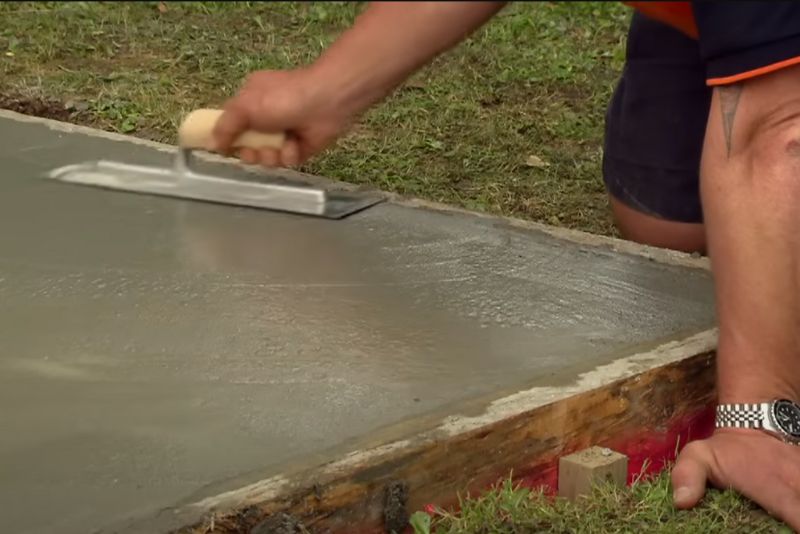
Step 12: Curing the Concrete
[3:53 – 4:04] Allow the concrete to cure. Monitor it closely, as concrete that dries too fast can crack or shrink. In sunny conditions, you may need to lightly spray it with water. For a pad this size, leave it to cure for around 48 hours.
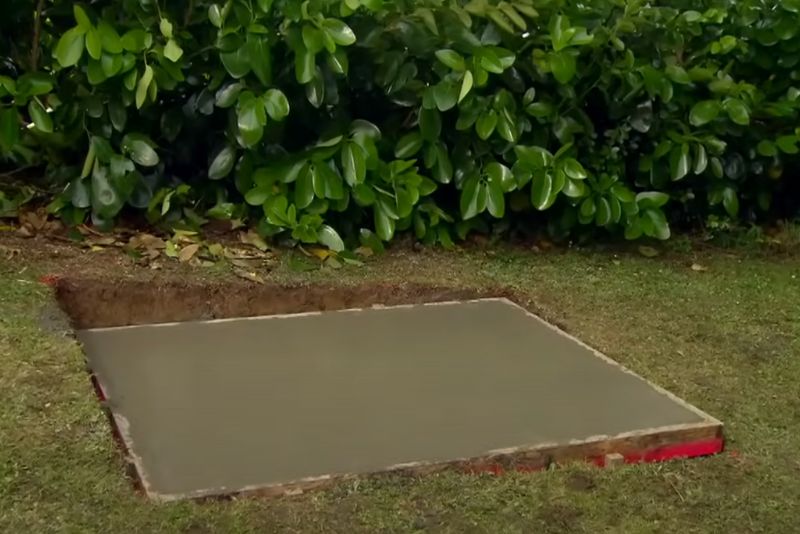
Step 13: Removing the Boxing
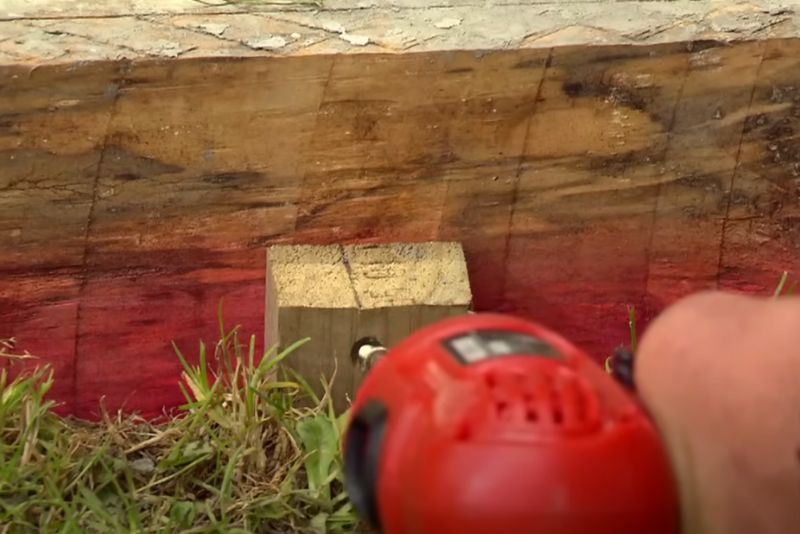
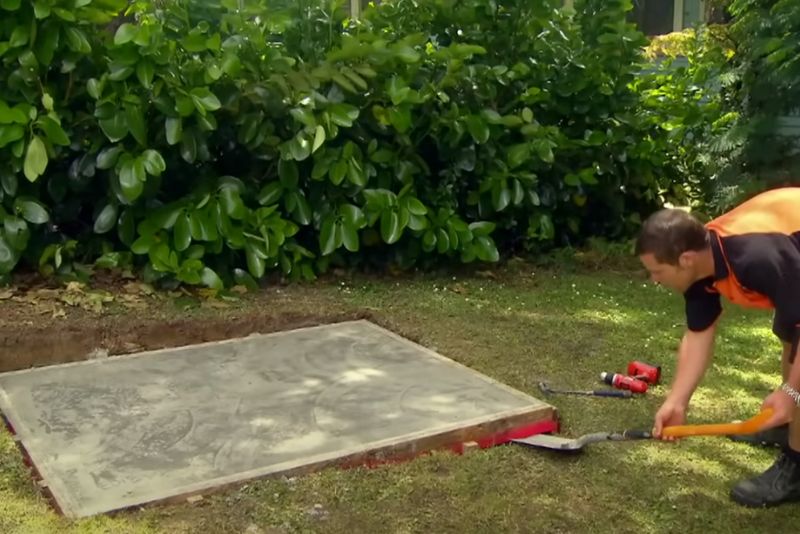
[4:07 – 4:43] Once cured, it’s time to remove the boxing. Tap the boxing lightly to make it easier to remove. Take out the screws from the pegs, pull the nails out of the boxing, and gently lift it off. Your finished pad, with rebate ready for the shed, should be ready to use. Easy as.
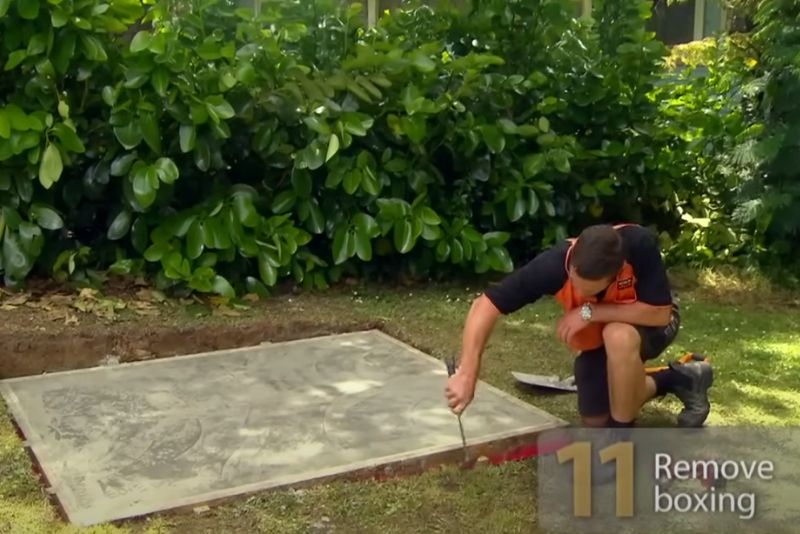
Remove screws from pegs
Pull nails from boxing
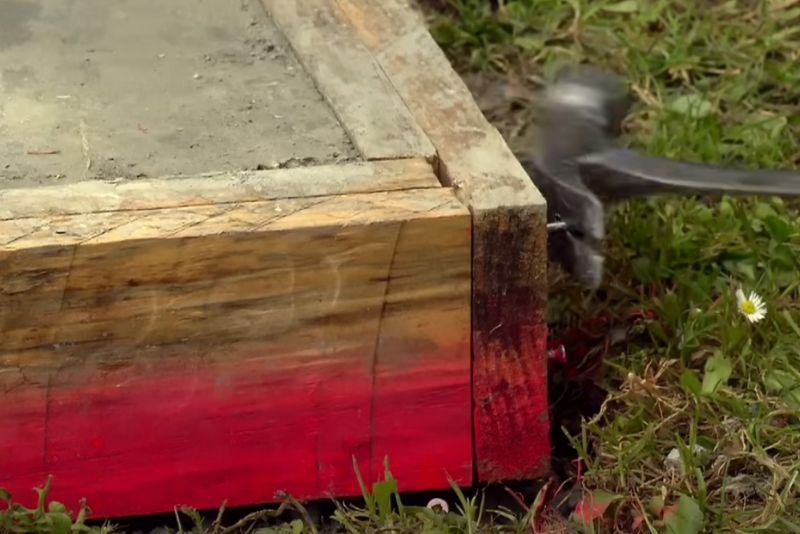
With the nails removed gently lift the boxing
For all the help and advice you need to get the job done, just head down to Wellers Hill Hardware & Landscape Supplies, part of the Mitre 10 Group. Our team is ready to assist you with all your project needs!
Tools and Materials Needed
Pop in to Wellers Hill Hardware & Landscape Supplies for your complete project needs.
- Tape measure
- Timber (100-by-25 rough sawn untreated timber)
- Saw (for cutting timber to length)
- 75-millimeter nails
- Hammer
- Square (for ensuring boxing is square)
- Shovel (for digging out soil)
- Rake (for levelling and removing loose dirt)
- Compactor (can be hired)
- Bedding sand
- Crusher Dust
- Polythene sheet
- Concrete mixer
- Concrete mix
- Magnesium trowel
- Steel trowel
- Screed board (4-by-1)
- Concrete Mesh
- Concrete blocks (for holding mesh)
- Hose (for curing the concrete)
View the full video here:
This is general information and should be taken as such, the process for different requirements will vary.

