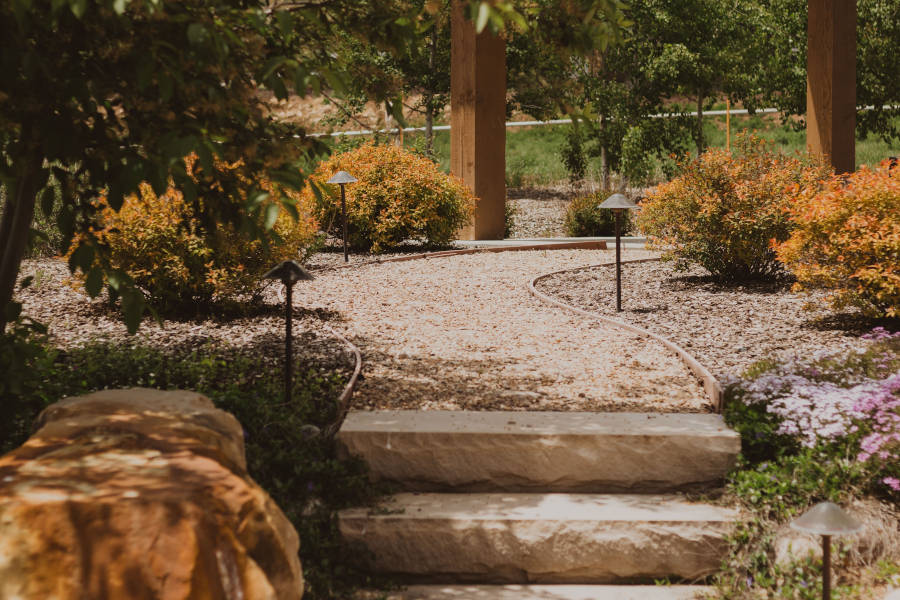
How to make a river rock pathway
What are the benefits of a river rock path?
River rock paths are a great alternative to concrete paths as they’re cost-effective, looks excellent and are easy to do yourself. Their ease of install is credited to their shallow depth, no need to mix concrete, can be made with standard household tools and the products can be delivered to your door without you having to leave the house!
Contact Wellers Hill Hardware and Landscape Supplies for everything you need for this project – We even deliver to you!
Volume Formula
The formula for how to calculate the volume of the path for your river rock and bedding sand needs: Volume = length x width x height.
Some of the common areas that you might use a River Rock path include:
- House Entry
- Garden Path
- Side House Access
- Pool Equipment Path
How to make a river rock path:
Step 1 – Mark Out Your Path
Use landscape chalk to mark out your path. This is also a great stage to work out if you are happy with the width/shape of your pathway before you start digging.
Step 2 – Dig Out The Grass
Dig out the grass in the marked area and remove any old pavers/ stepping stones (If you are removing old stepping stones you may be able to save costs by re-using these)
Step 3 – Dig Out A Depth
Dig to a depth of about 5 inches and remove soil
Step 4 – Make Your Border Flush
Dig out along the side of your path to make sure that its flush. This is essential for the installation of your side guards.
It’s important to have side guards to keep your rocks in place and to help stop erosion along the edges of your path.
Step 5 – Install Path Side Guards
Install timber-sleeper/garden-edge side guards using pins to keep them in place.
Pinning your side guards is a crucial step to stop movement and keep your path edges in place.
Options for side guards include:
- Pavers
- Larger stones
- Garden bed edging
- Sleepers
- Fence pailings
Step 6 – Make It Level
Ensure the path base is level. You can use a length of timber to check that your ground is flush and level.
Step 7 – Spread path base
Put down a layer of bedding sand and level – this helps drainage and to keep the pathway level
Step 8 – Stop Weeds And Grass Growing In Your Path
Lay weed mat/fabric to stop unwanted plants and grass growing through your path.
Grass and weed seeds will blow into your path; they will also lay dormant for years.
(Did you know there was a monastery excavated in Denmark where they found Mustard seeds dated to 600 years and 11 of them germinated!)
Step 9 – Place Stepping Stones
Place Stepping stones along the path estimating for both the young and old. (It’s a good idea to add stepping stones for those that go barefoot)
Step 10 – Spread River Rock
Spread a layer of river rock along the path to make it flush with the stepping stones stopping ½ inch from the top of your side guard to help prevent overflow.
Ready to tackle this project? Contact Wellers Hill Hardware and Landscape Supplies with your river rock and bedding sand order to have it delivered to your door.
The formula for how to calculate the volume of the path for your river rock and bedding sand needs: Volume = length x width x height.
