How to build an easy timber feature wall
Timber brings out so much warmth and beauty to interiors making it a natural choice for a stand out feature in your home.
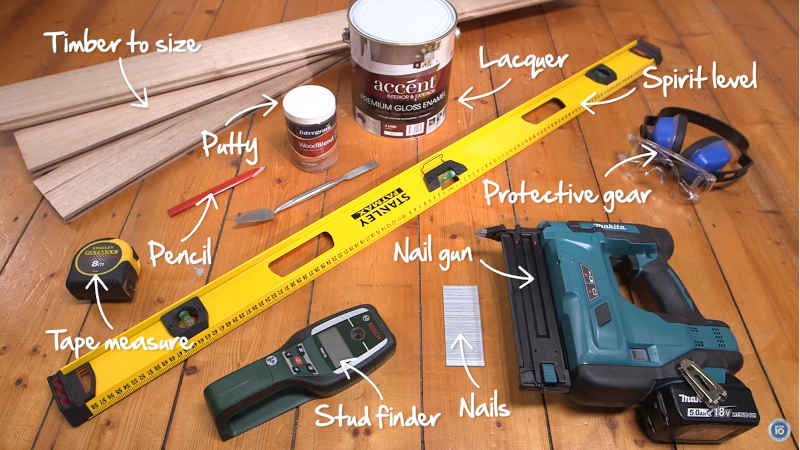
What you are going to need:
- Timber cut to size
- Putty
- Lacquer
- Spirit level
- Pencil
- Nail gun
- Protective gear
- Nails
- Stud finder
- Tape measure
Make sure you have a flat surface to begin otherwise you may need to invest in some packers to pack out any major imperfections.
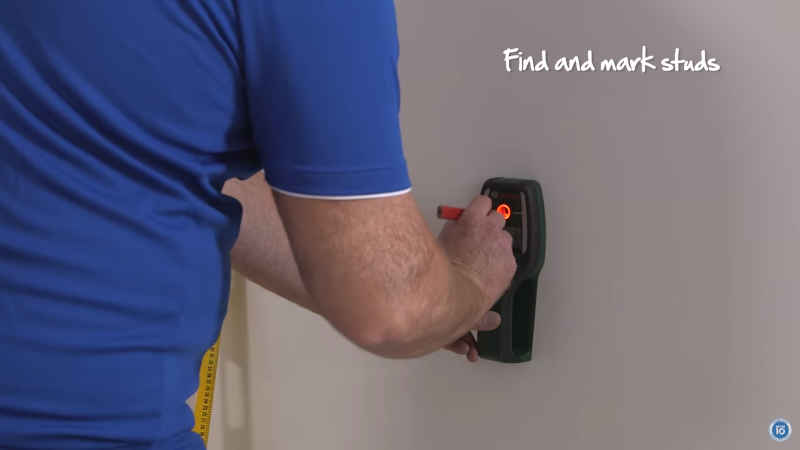
With the stud finder find the centre of the vertical studs all the way along the wall marking them with a level as you go.
Grab your precut timber that is measured to the horizontal length of the wall you want to cover.

If you are able to find timber that is at least the length of your wall, have it cut to size to remove any unwanted lines in your wall where timber lengths meet. If your wall is longer it is best to cut your timber on site as you go using the last offcut to start your next row.
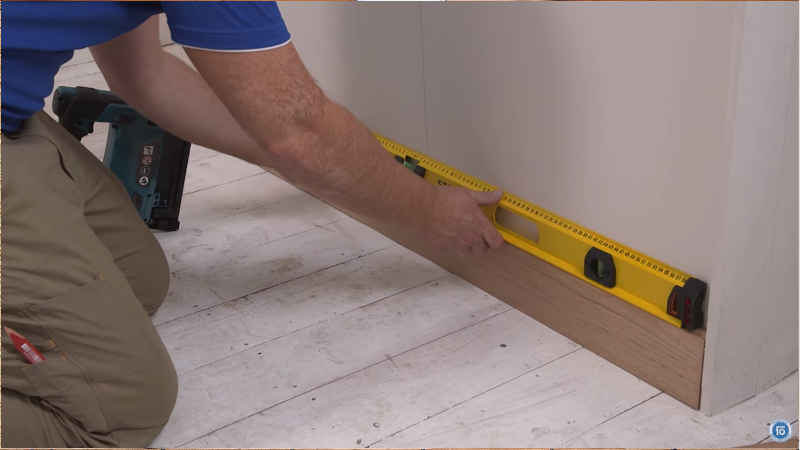
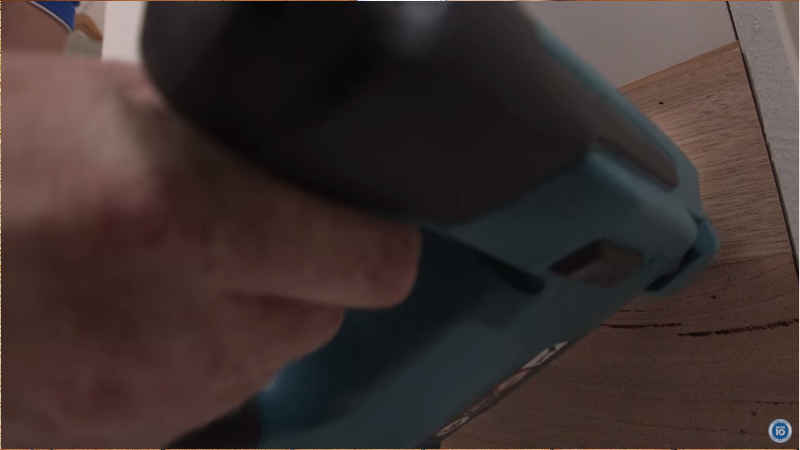
With the fixing nail gun, pin your timber to the wall starting at the bottom and make sure first length is level. Continue up the wall nailing into your marked stud.
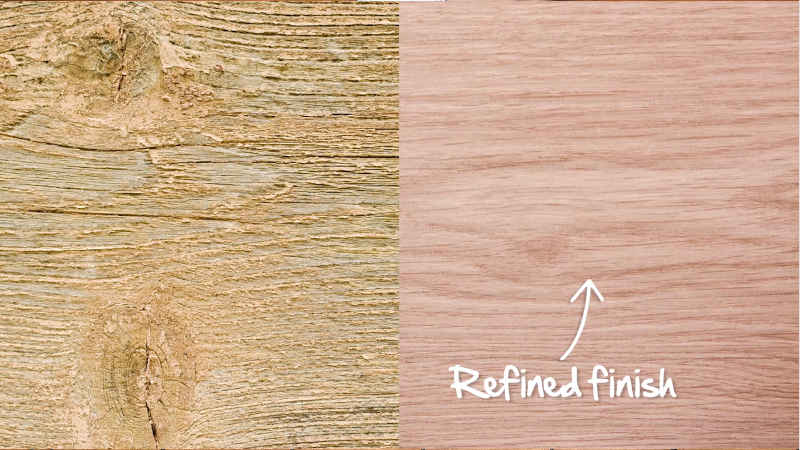
For the industrial look keep your timber looking natural and rough sawn with a matte lacquer or for a refined finish use dressed timber, fill the nail holes with putty sand and tint, paint or stain to suit your style.
There you have it your own feature wall to be proud of.
Tips
If you are wrapping around a corner cut the edges on a 45 degree angle to avoid messy join lines. Factor in the extra area needed in the length for the depth of the timber on each side.
To avoid your eyes being drawn to the edges of the timber in the wall overlap the lengths underneath so that the timber doesn’t finish at the same point all the way up the wall
Factor in any points for power points and cut out these sections of the timber lenghts with a jigsaw
Ensure your blades on power tools are sharp to avoid messy cuts
